Presuming that you got a good sounding classical guitar, we can now get start making flamenco guitar from it, and perfecting it further. As you probably know, the guitar’s main bridge is made from a much denser, and therefore much heavier wood. The denser the material is, it transfers kinetic energy faster and better to the front board. Some bone ornaments are often inserted on it, to make it heavier still, so it’s swing prolongs the vibrations further. On the hand made instruments, both the saddle and the nut are made from animal bone, because of it’s crystalline structure properties and high average density. On factory-made guitars, these pieces will be usually made of plastic.

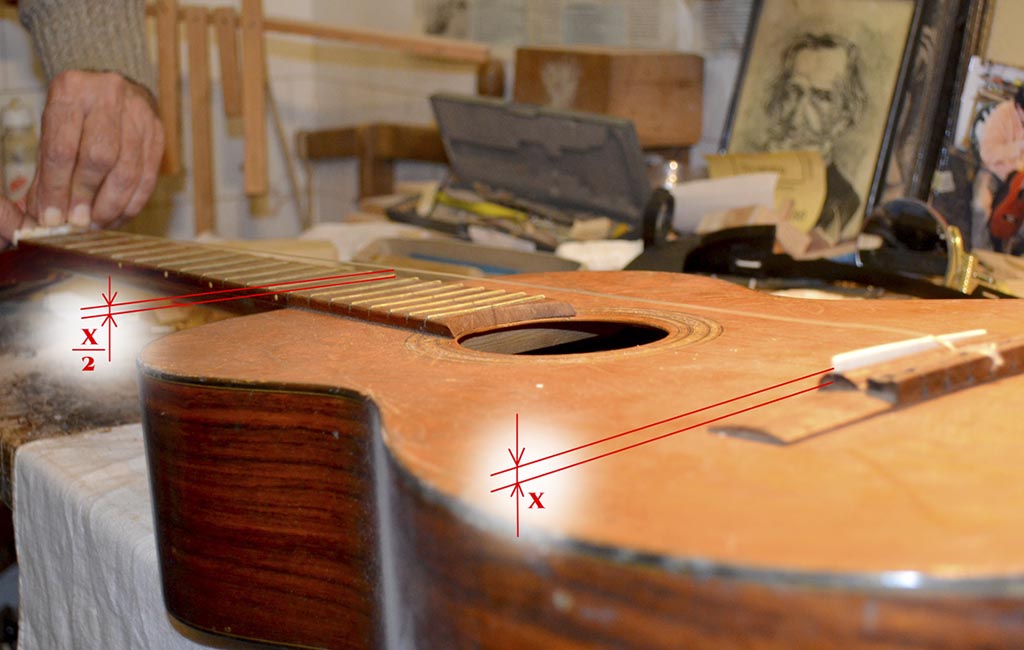
 The flamenco guitar has lower strings than the classical guitar, so to start making flamenco guitar, we’ll lower the strings by lowering just the saddle – and not the nut. You should file it just underneath, just by the amount needed to reach around 3,5 mm of strings height on the 12th fret. Be aware that taking off 2 mm from the saddle, lowers the strings on the 12th fret by 1 mm. Since the 12th fret is exactly half of the length, taking off saddle’s 3 mm would lower them by 1,5 mm, and so on… The filing paper for the beginning can be around P 120, but you can later use some finer grain sandpaper, like P 400, or P 600.
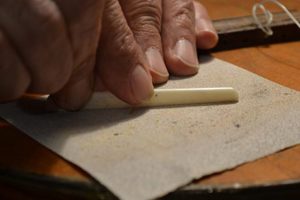
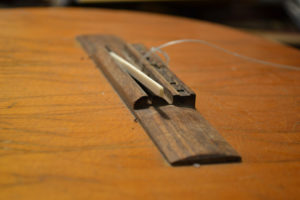
  You should try to obtain 3,5 mm of height on the 12th fret for the beginning, though, on the best guitars, it’s around 3 mm (but better don’t go there, all my frets are filed individually with a special tool, and it is a nightmare if your fretboard is not ideally curved inwards). And of course – be very careful, and don’t over-do it! You’ll make the strings buzz on the frets, and you’ll have to add slices of paper under it later. And you don’t want that to kill the sound because you are making flamenco guitar. The contact between the saddle and the bridge has to be perfect, and it is a very important matter. It shapes the whole sound and defines all the dynamics because the major portion of the kinetic energy transfers first from the saddle to the bridge, and then to the front board. The saddle is sloped towards the first string, so a whole millimeter higher for the 6th string, therefore you must file it evenly from below. When you press the saddle bone to the flat surface with sandpaper, when you start sanding it, don’t press hard with the fingers on the sides, but apply pressure just with the finger in the center. Naturally, the sides will get filed off more because of the hand movement, so you will be evening it out by pressing more at the center of the saddle. It’s best to use the 3rd string as a reference for the height. In fact, everything on the guitar is sloped – including the saddle, but better not to start with that – just use the 3rd string. If you have the opportunity, you can replace both the nut and the plastic saddle with animal bone pieces. (it has to be a well un-greased bone, exes of fat is removed by soaking the bone for 6 months in acid). As opposed to plastic that was melted and has a grainy structure, the bone has a higher average density and crystalline structure. It would be best if you could get ivory, it’s the densest bone from all. Otherwise, the femur bone from a bull is what’s most often used.
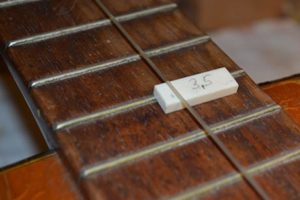
The nut made from bone wouldn’t change much on that guitar, but the bone saddle on some solid top guitars could do a miracle. If it’s massive, (depending on the saddle width, they go from 2,2 mm to 3,0 mm), it’s weight can make the whole bridge substantially heavier, and impact it’s resonant properties significantly. Depending on the guitar you have, it will, or it may not be worth the effort.

